
哪吒监控是一个开源、轻量的服务器和网站监控、运维工具。它可以帮助用户实时了解服务器的系统状态,如 CPU、内存、磁盘、网络等指标。哪吒探针的面板和客户端都可以通过一键脚本安装,支持 Linux、Windows、MacOS 等主流系统。
- 官方网站: https://nezha.wiki
- 官方Github: https://github.com/nezhahq/nezha
一、安装 Dashboard
1. 准备工作
-
【必需】一台服务器,单核 512MB 内存的服务器即可满足大多数使用场景。
-
【建议】操作系统:推荐Linux,这里用的是阿里云ECS,就用了Alibaba Cloud Linux。
-
【建议且必需】 域名,V1版本不再区分访问端口和通信端口,可以用一个域名,也可以分二个域名将面板与通信分开,将域名都解析到服务器上。
- 面板域名:dashboard.zengwu.com.cn
- 数据域名:data.zengwu.com.cn
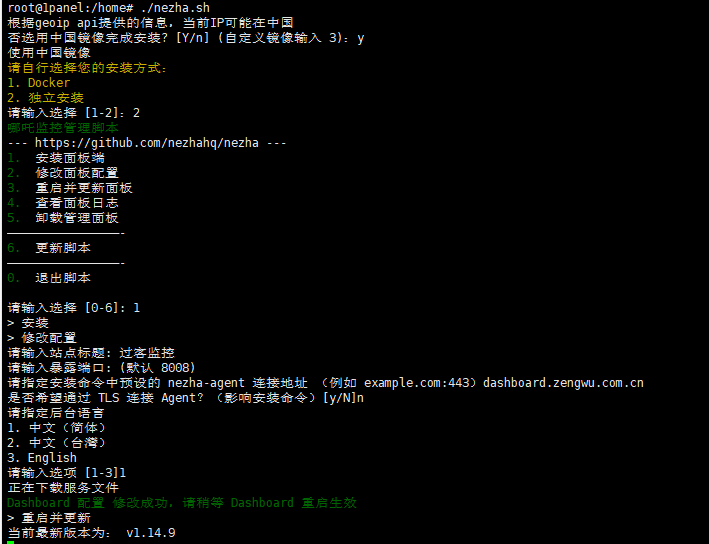
2. 安装 Dashboard
- 脚本一键安装,根据提示选择。
# github.com
curl -L https://raw.githubusercontent.com/nezhahq/scripts/refs/heads/main/install.sh -o nezha.sh && chmod +x nezha.sh && sudo ./nezha.sh

# gitee.com
curl -L https://gitee.com/naibahq/scripts/raw/main/install.sh -o nezha.sh && chmod +x nezha.sh && sudo CN=true ./nezha.sh
3. 配置反向代理
这里用Nginx返向代理。
- 面板域名 dashboard.zengwu.com.cn 配置 转发和websocket。
server {
    listen 80 http2;
    listen [::]:80 http2;

    server_name dashboard.zengwu.com.cn; # 替换为你的域名

    underscores_in_headers on;
    #set_real_ip_from 0.0.0.0/0; # 替换为你的 CDN 回源 IP 地址段
    #real_ip_header CF-Connecting-IP; # 替换为你的 CDN 提供的私有 header,此处为 CloudFlare 默认
    # 如果你使用CDN,把上面两行注释去掉

    # websocket 相关
    location ~* ^/api/v1/ws/(server|terminal|file)(.*)$ {
        proxy_set_header Host $host;
        # proxy_set_header nz-realip $http_cf_connecting_ip; # 替换为你的 CDN 提供的私有 header,此处为 CloudFlare 默认
        proxy_set_header nz-realip $remote_addr; # 如果你使用CDN ,就把上面一行注释去掉,注释此行
        proxy_set_header Origin https://$host;
        proxy_set_header Upgrade $http_upgrade;
        proxy_set_header Connection "upgrade";
        proxy_read_timeout 3600s;
        proxy_send_timeout 3600s;
        proxy_pass http://127.0.0.1:8008;
    }

    # web
    location / {
        proxy_set_header Host $host;
        #proxy_set_header nz-realip $http_cf_connecting_ip; # 替换为你的 CDN 提供的私有 header,此处为 CloudFlare 默认
        proxy_set_header nz-realip $remote_addr; # 如果你使用CDN,就把上面一行注释去掉,注释此行
        proxy_read_timeout 3600s;
        proxy_send_timeout 3600s;
        proxy_buffer_size 128k;
        proxy_buffers 4 256k;
        proxy_busy_buffers_size 256k;
        proxy_max_temp_file_size 0;
        proxy_set_header X-Forwarded-Proto $scheme; # 如果你使用CDN,就注释此行
        proxy_pass http://127.0.0.1:8008;
    }
}
- 数据域名 data.zengwu.com.cn 配置grpc转发
server {
    listen 80 http2 ;
    listen [::]:80 http2;

    server_name data.zengwu.com.cn; # 替换为你的域名

    underscores_in_headers on;

    # grpc 相关
    location ^~ /proto.NezhaService/ {
        grpc_set_header Host $host;
        grpc_set_header nz-realip $remote_addr;
        grpc_read_timeout 600s;
        grpc_send_timeout 600s;
        grpc_socket_keepalive on;
        client_max_body_size 10m;
        grpc_buffer_size 4m;
        grpc_pass grpc://dashboard;
    }
}

upstream dashboard {
    server 127.0.0.1:8008;
    keepalive 512;
}
4. 登录到 Dashboard 配置界面
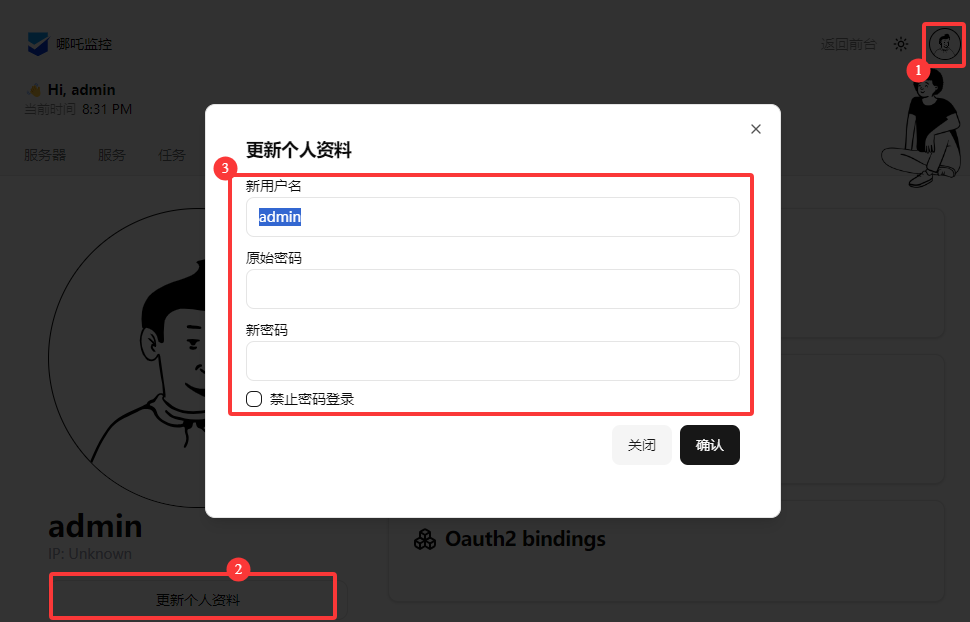
浏览器中输入面板域名 dashboard.zengwu.com.cn进入首面,默认账号和密码都是admin

点右上角头像,选择个人信息,修改账号密码
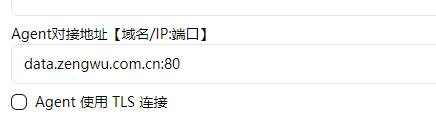
二、安装 Agent
1. 获取一键安装脚本
- 进入面板页面 -> 右上角头像 -> 系统设置 -> 设置Agent对接地址,最后拉到最下面确认
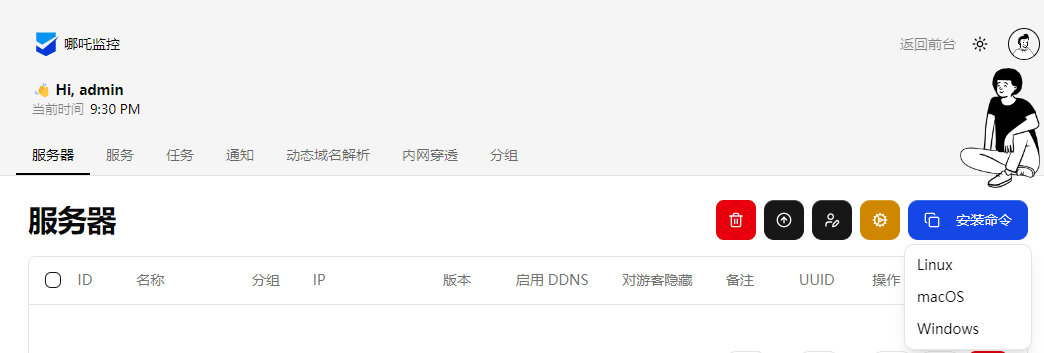
- 回到服务器分页,选择安装命令,选择不同的系统,点击就复制对应系统的一键安装脚本。
2. Linux/macOS系统
复制命令,直接在终端运行。这个命令带了SECRET和服务器域名:端口,所以复制自己的就行了。
curl -L https://raw.githubusercontent.com/nezhahq/scripts/main/agent/install.sh -o agent.sh && chmod +x agent.sh && env NZ_SERVER=data.zengwu.com.cn:80 NZ_TLS=false NZ_CLIENT_SECRET=u4uIr8Xsn9xw1I3B26zcQALvLV4zisMH ./agent.sh
3. Windows系统
- 搜索PowerShell 以管理员权限运行
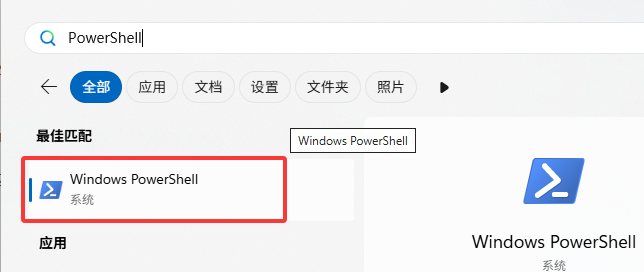
- 粘贴复制来的命令
注意:这里复制来的命令install.ps1文件路径有问题少了一个"\",手动添加一下,或者修改文件目录下可以。
$env:NZ_SERVER="data.zengwu.com.cn:80";$env:NZ_TLS="false";$env:NZ_CLIENT_SECRET="u4uIr8Xsn9xw1I3B26zcQALvLV4QisMH"; [Net.ServicePointManager]::SecurityProtocol = [Net.SecurityProtocolType]::Ssl3 -bor [Net.SecurityProtocolType]::Tls -bor [Net.SecurityProtocolType]::Tls11 -bor [Net.SecurityProtocolType]::Tls12;set-ExecutionPolicy RemoteSigned;Invoke-WebRequest https://raw.githubusercontent.com/nezhahq/scripts/main/agent/install.ps1 -OutFile C:\install.ps1;powershell.exe C:\install.ps1
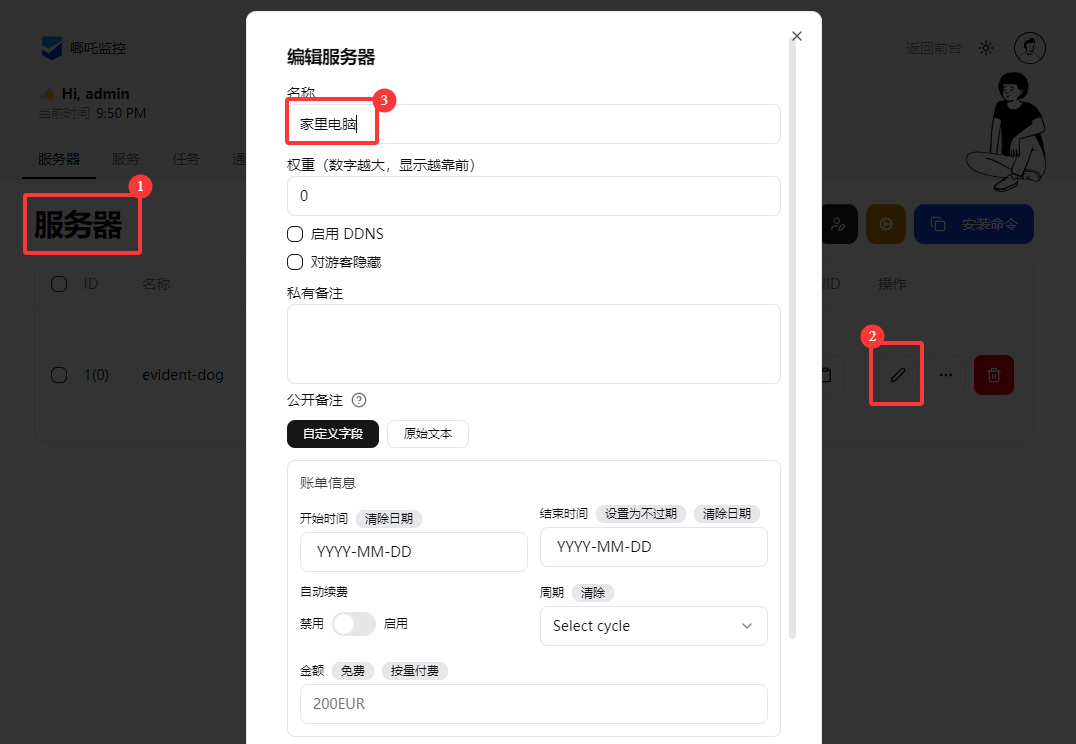
4. 调整服务器信息
进入面板后台,选择修改配置
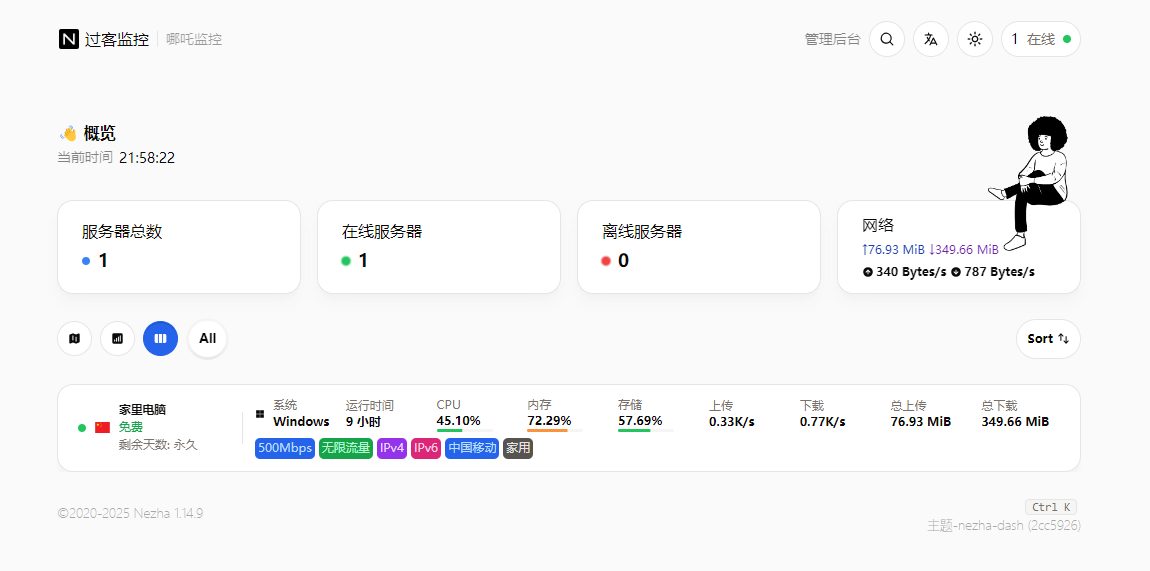
最后回到面板中查看


评论区